I learned the basics of bread making by watching Breaking-Bread series by Father Dominic on PBS. His show demystified the whole bread making process for me. I grew up in Andhra Pradesh, the rice bowl of India, where bread is not an everyday food. It is an exotic thing associated with sickness, prescribed by doctors as an easy digestable food for people when they are ill. Only time I had bread was when I was under the weather and that too quite reluctantly.
When we moved to US, it took some time to get know that bread is not a bland tasteless cardboard kind of food that I remembered and also to separate the bread-sickness association from my mind. I was fascinated by the completely unknown world of bread making and different varieties of bread. I was curious and eager to learn the process so I tried the cook books about baking bread. With information overload, the whole process of bread making felt as easy as preparing for an entrance exam or tooth pulling.:)
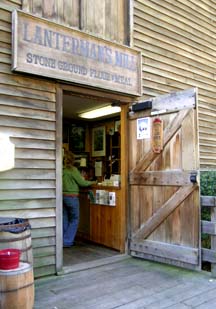
During that time, Breaking Bread series by Father Dominic started on PBS. This chubby, homely monk with a pleasant, fatherly disposition and witty, calming narrative showed the bread making in such a way, that I felt confident to try out. The bread I first baked was a plain whole wheat bread loaf. We both liked the taste of it and later on I experimented with adding honey, nuts etc., After moving to Ohio, I am using the whole wheat flour, produced in old style – stone grinding powered by water at Lanterman’s Mill (not only the major tourist attraction but also a functioning working flour mill of Boardman, Ohio) for my bread. The difference in taste is tremendous, the close thing I can compare it is that of great harvest bakery whole wheat bread. Lot of texture and full of flavor, just two slices would fill us up good.
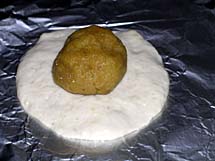
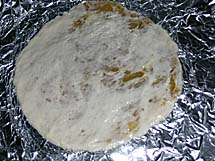
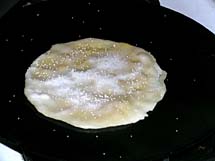
Last weekend I tried again my bread making skills. Although the dough behaved with a mind of it’s own because of excessive rainy and humid weather, the loaf cameout good after baking. Here is the recipe and the whole process in images:
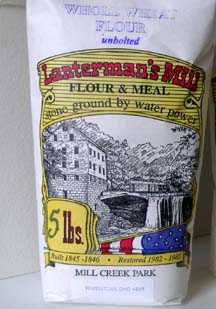
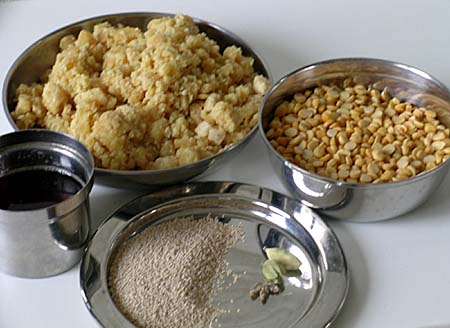
Lanterman’s Mill……………..Stone ground Whole Wheat Flour
Recipe:
1 cup coarsely ground whole wheat flour from Lanterman’s mill
1 cup whole wheat flour (King Arthur brand)
1/4 ounce packet of dry active yeast
1 cup water
½ cup buttermilk
½ cup honey
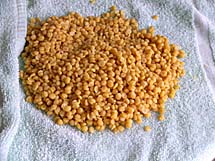
½ cup of golden raisins and chopped walnuts
¼ cup of oil
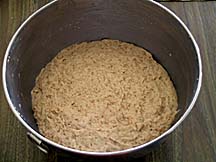

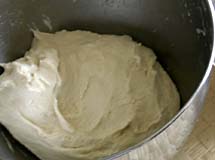
First Rise:
Dissolve yeast in half cup of warm water. Measure the flours in a big bowl. Mix buttermilk, oil, honey, water and yeast mixture into the flour to make soft, sticky dough. Take the dough on a wooden board and knead it for about 5 to 10 minutes, handling it gently. Use a spatula to pick up the sticky dough and turn it over as you work. Place this kneaded dough back in the bowl, cover and place the bowl in a warm place and let the yeast do the work. Wait until it tripled in size for about 2 to 3 hours.
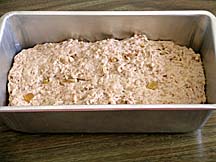
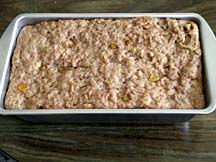
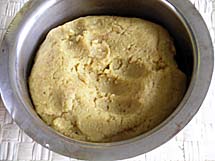
The Second Rise:
When the dough has finished rising, add nuts and raisins and prepare the dough for the second rise. Take the dough again on flour board, deflate it by pressing the dough flat. Now sprinkle finely chopped walnuts and gloden raisins. Incorporate them into the dough by kneading for few minutes. Place the dough in a loaf plan, cover and let it rise to the top of pan, takes about another two to three hours.
After this final rise, place the loaf pan in preheated oven at 400° F and bake for about 30 to 45 minutes or until golden brown. Remove it from oven, bread slides out of the pan easily and let it cool completely before slicing.
The pearls of wisdom, I learned from Father Dominic is ” Let the dough rest and don’t peek and poke it too often”. Very true for successful bread making.
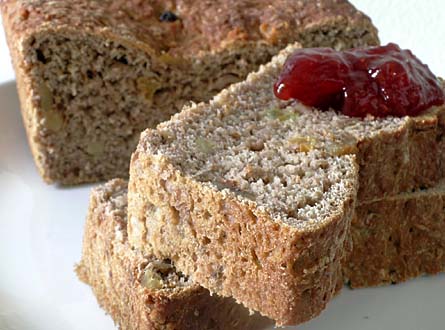
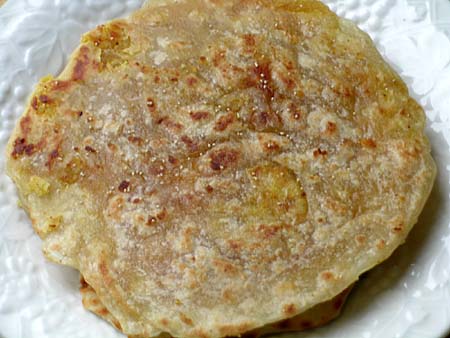
Honey whole wheat bread with walnuts and golden raisins
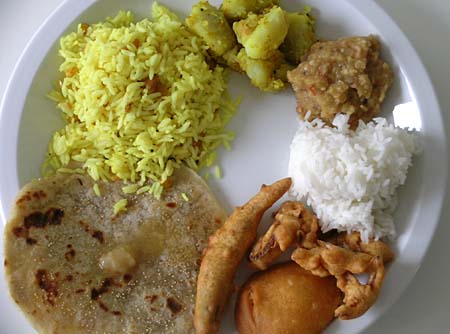
Our weekend breakfast, lunch and dinner
Recipe Source: Cooking Show on Television.


