Photo Purchase Keyword: Semiya, Payasam
(Please don’t photosteal. Make a photo purchase to digital download and to print.)
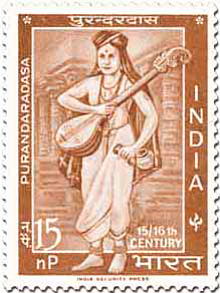
From hearing the Purandaradasa’s spiritual keerthana “Rama nama payasakke“, we will know that the semiya payasam we prepare at home has at least 500+ years of history. The recipe ingredients and the method have remained unchanged all these years. That is the greatness and as well as the simplicity of this recipe. What has changed is our attitude and regard towards such honest and soulful food. But that is a topic for another time. For now, continuing the 500 plus year old tradition, here is how I prepared the semiya payasam at my home for Neivedyam.
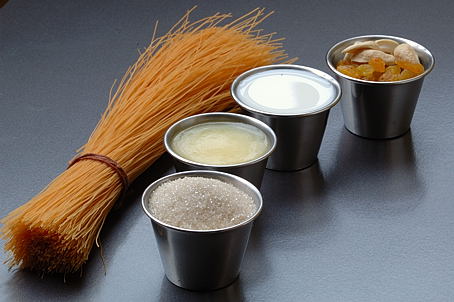
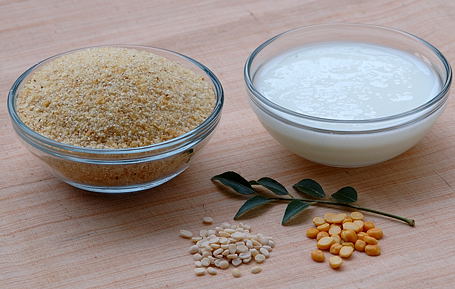
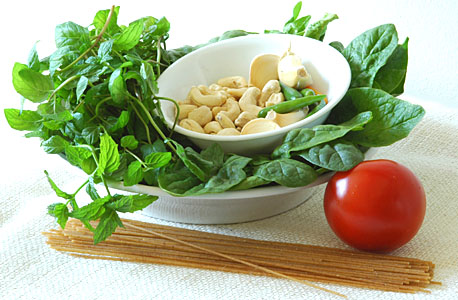
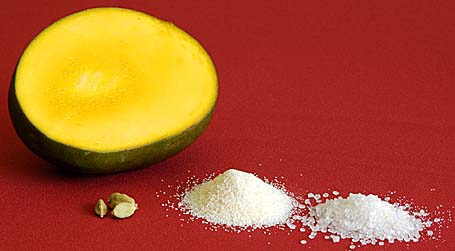
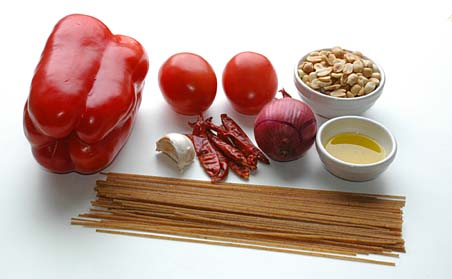
Semiya, Sugar, Ghee, Milk, Cashews and Draksha ~ Ingredients for Payasam
Recipe:
4 cups whole milk
½ cup cane sugar, ( or to taste)
Fine semiya, one bunch, about the size that fits baby’s fist (10″ long)
2 tablespoon of ghee, melted
16 cashews and 16 golden raisins
4 cardamom pods, seeds powdered
Heat ghee in a wide pot. Add and toast golden raisins to pink balloons first, and then cashews to pale gold color. Remove them in to a plate.
In the same pot, add and toast the semiya for one to two minutes. (This is to remove the raw wheat smell of semiya and I usually do it, but this is optional.) Take the toasted semiya to a plate and keep aside.
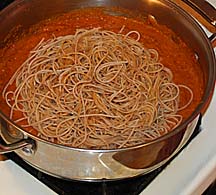
In the same pot, add the milk and stir in sugar. Bring the milk to a rolling boil. Reduce the heat and add the semiya. Also the cashews, golden raisins and cardamom powder. Simmer on slow heat for ten minutes. The fine semiya floats like water lily stems in a pond of sweetened milk. That is the consistency we want in semiya payasam.
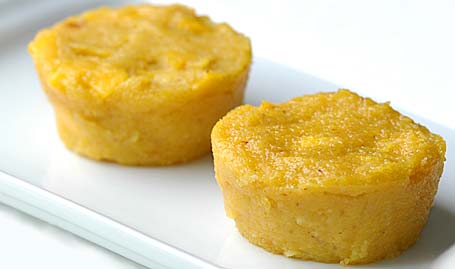
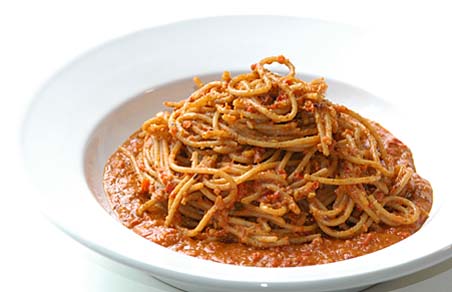
Serve warm or cold, and enjoy this fine, honest dessert in the name of tradition.
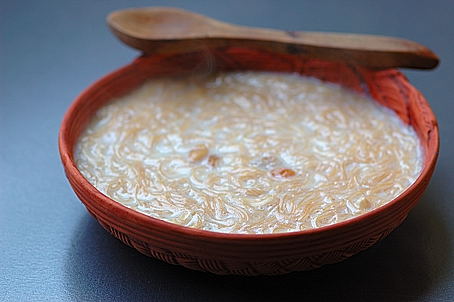
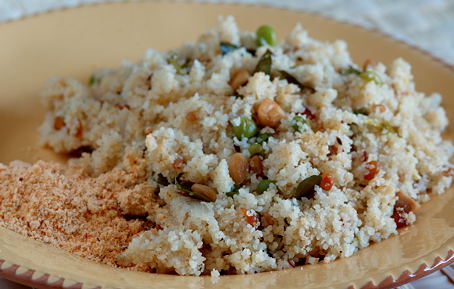
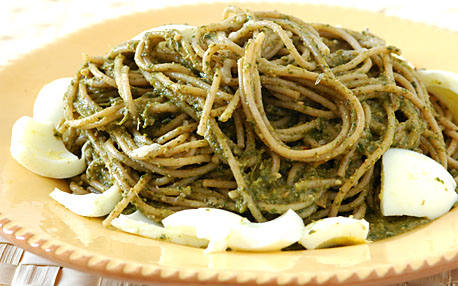
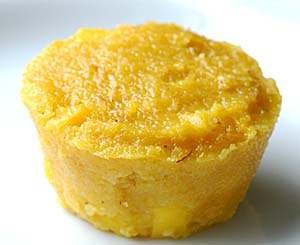
A Sweet 500+ year old tradition ~ Semiya Payasam
Note:
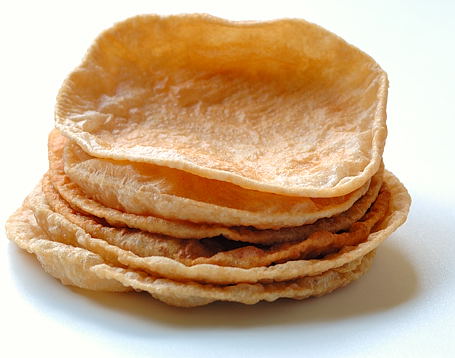
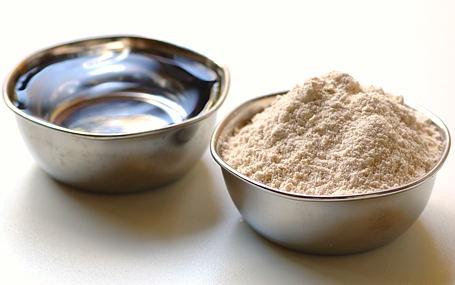
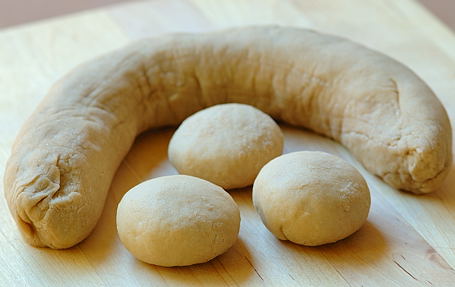
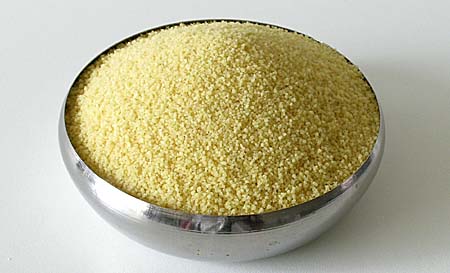
Semiya, the fine wheat noodles are a speciality of India. They are prepared with durum wheat flour and water. Semiya is egg free, and that is the major difference between western egg-laden vermicelli and Indian semiya. (Semiya is available at Indian grocery shops).
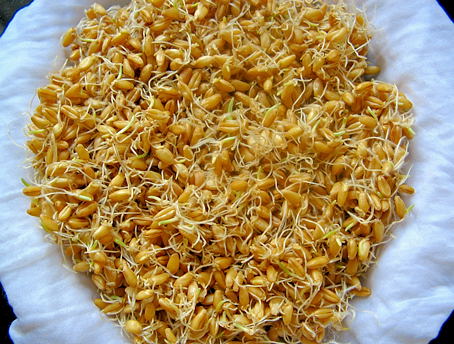
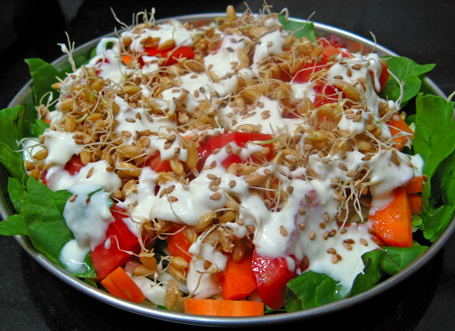
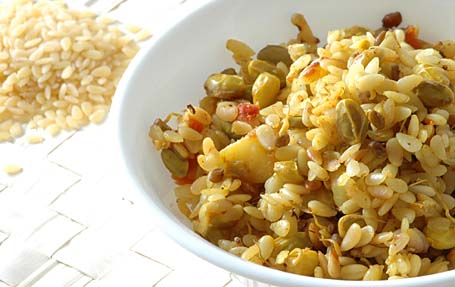
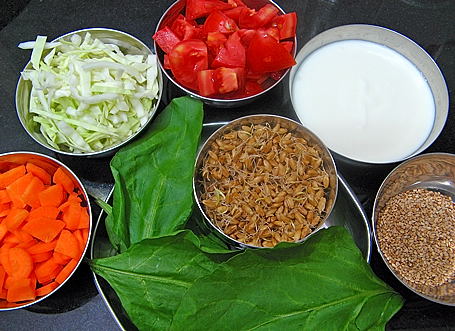 Centre: Spinach and sprouted wheat. Clockwise from left: carrots, cabbage, tomatoes,