Chillies are a religion in India! And in my home state Andhra Pradesh, the leading producer of chillies in the world, the chilli religion has a cult like following. The almighty, all-powerful chillies dictate and dominate almost every food item we consume. Our tongues are trained to accept and enjoy the fiery ruchi(flavor) of chillies from early on and the non-believers in chilli power and taste are considered wimps and babies by the believers. I tried to break away from this chilli cult, but it’s tough to do and the cravings haunted me. My taste buds cried saliva for a decent flavorful meal. They couldn’t tolerate the bland, tasteless food I was consuming in the name of suave and sophistication. “We are not babies, we are not wimps. Have mercy and have a chilli”, they salivated. I bowed and accepted the chilli power with my whole heart and now at my home, there won?t be a meal without having at least one dish where chilli – dry or fresh is added. Needless to say my taste buds are now one happy bunch.
Like us, humans, chillies also have a variety. There are lean, short, tall and stout chillies. There is mildly hot variety and there is super hot variety. Names of chillies vary from state to state and from country to country, with growers making up new names all the time. For that reason, I usually write either green chillies for fresh ones and dried red chillies for dried chillies. Using fancy, foreign sounding names for chillies is not my thing.
There are also preserved chillies – Dried chilli powder is the best-known method of preserving chillis. There is one more popular way of preserving chillies, from my home state, called “majjiga mirapa? in Telugu and ‘dahi mirchi’ in Hindi. Here fresh green chillies are slit vertically keeping the ends intact and soaked in salty, sour yogurt for about 4 to 6 days, giving time for the acid in both yogurt and chillies to work its magic of preservation. As a result, the color of chillies changes from green to light-green to creamy yellow with green tinge. At this stage, they are removed and sun dried until completely moisture free. The end result is creamy-white chillies that taste mildly hot, tangy (because of soaking in yogurt) and delicious. Usually we deep-fry these mirchis and have them as ‘middle of the meal’ kind of snack along with rice and dal. Combine rice and dal and have a small round, while eating it, in-between take a bite of majjiga mirapa. That’s how we enjoy this version of chilli.
I always hear people saying how much they would like to prepare the real deal, the ultra-authentic, home-style cuisine. Well, this is your chance to do just that. If you like chillies and if you live in an area of at least one week of super hot temperatures, then this recipe is for you.
Recipe:
Chillies:
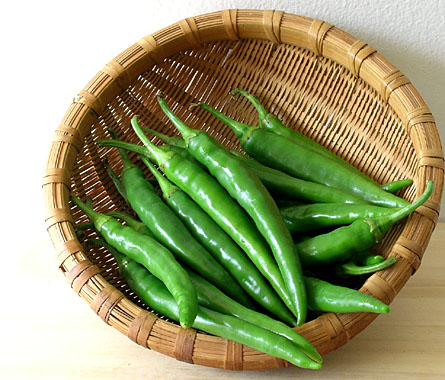
20 fresh chillies
(Long, firm body with medium-thick skin ones are perfect for this recipe)
Yogurt:
4 cups of day-old Indian homemade yogurt, add
4 teaspoons of salt and mix
Weather:
Hot weather suitable for sun-drying the chillies
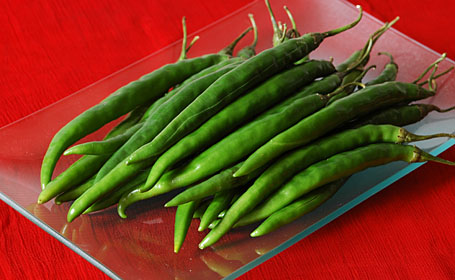
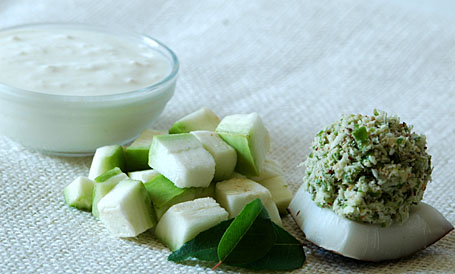
Day1: Green chillies washed and slit in the middle (keep the ends intact)
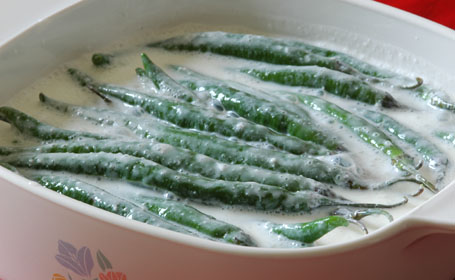
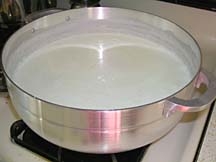
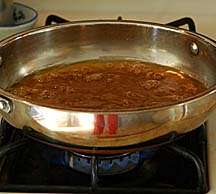
Day 1: Slit green chillies are soaked in yogurt-salt mixture. Keep them like that open(without lid cover) for at least 4 days.
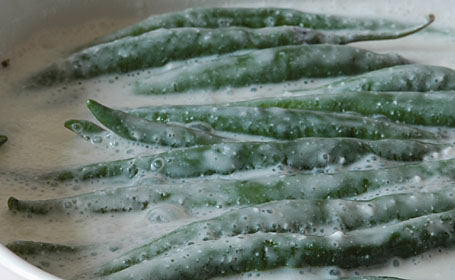
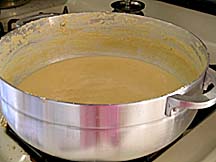
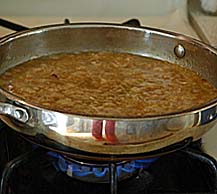
Day 2: Closeup of slit green chillis soaking in yogurt-salt mixture
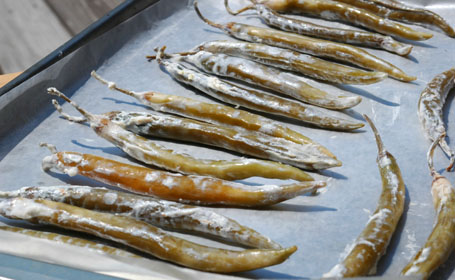
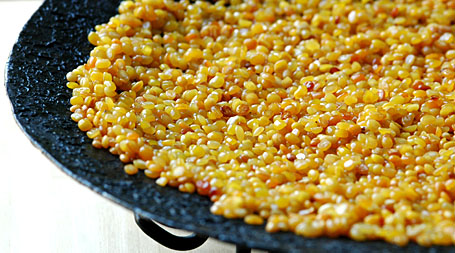
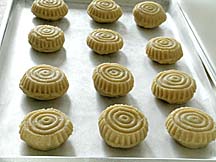
Day 5: Remove the chillies from yogurt and arrange them neatly in rows with space in-between on a big sheet/plate/pan suitable for sun-drying. (Notice the change in green chilli color.)

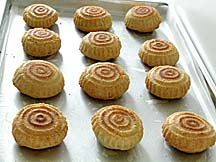
Day 8: Sun-dried Majjiga Mirapa. It took 3 days here in Ohio, for them to get completely moisture free and dry. When stored in tight lid box, they can stay fresh from 6 months to a year. To cook – deepfry them in oil until they turn to golden and serve immediately.
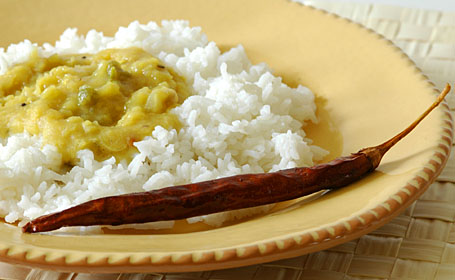
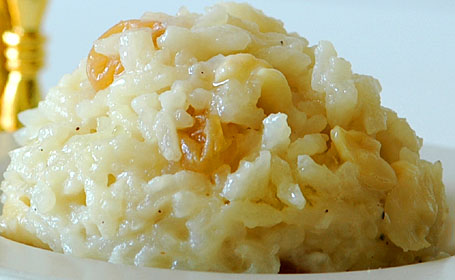
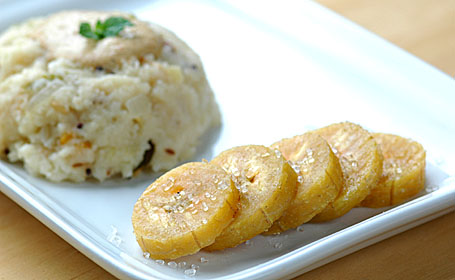
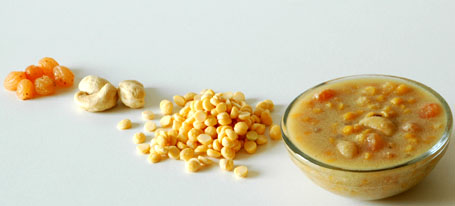
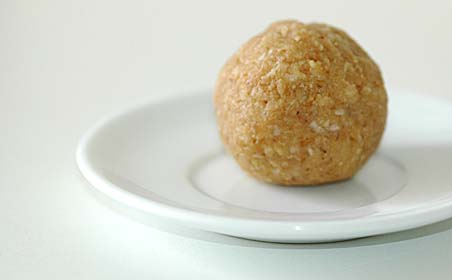
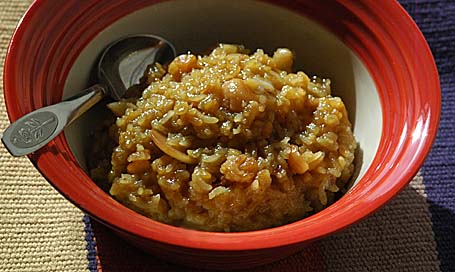
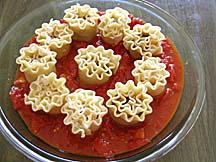
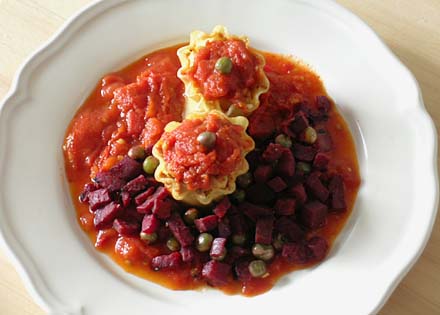
Golden colored Majjiga Mirapa (deep-fried) with Rice and Dal – Traditional Andhra Meal for Independence Day Food Parade
Dahi Mirchi is avialable in small packets at Indian grocery shops here in US.