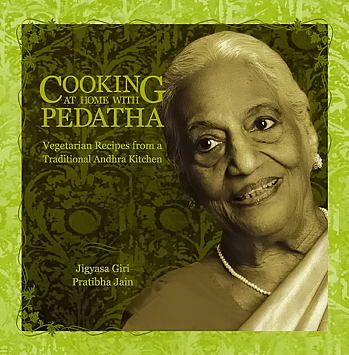
Recently I have received a cookbook to review. The title of the book is “Cooking at home with Pedatha”.
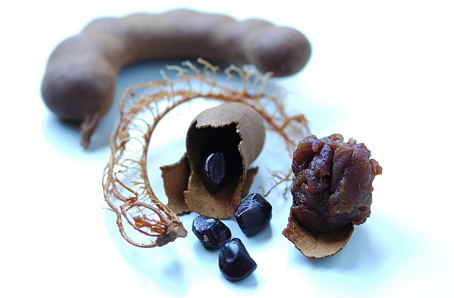
Atha (or attha) means father’s sister in Telugu. Pedatha means eldest Atha. After grandparents, Pedatha, an authority motherly figure is the most important person and pedatha’s advice and asheerwad (blessings), are always sought in our homes during difficult times and for celebrations. We respect pedatha. After reading and trying a couple of recipes from Pedatha’s cookbook, I felt like I’ve found an emerald gem that would bring good health and good luck to my cooking.
Here in this cookbook, the authors Jigyasa Giri and Pratibha Jain captured their Pedatha’s 85-years kitchen experience and wisdom. A blend of hot, sweet, sour and aromatic flavors, often all in one dish – the genius and simplicity of Andhra cooking, are laid out in endearing detail. Rice preparations, simple stir-fry curries, spicy powders, savory rasams and traditional sweets are all explained in Pedatha’s words. The result is like a marriage of perfect flavorings with natural goodness of fresh ingredients.
What I particularly liked about this cookbook is how it speaks to us, the Indians. It has an authentic voice which is compelling. I am from Nandyala, Andhra Pradesh and almost all of the recipes are just the way my mother would prepare. There are no shortcuts and there is no compromise in authenticity to please the western audience taste. Accompanied by breathtaking images, the recipes are easy to follow and most of them can be cooked in a short 30-minute time.
The only drawback I can think of is, when compared to ‘Hummer’ size cookbooks in vogue now, this book with 61 recipes in 87 pages may look like ‘Toyota Prius’. On the other hand, this may not be a drawback at all. I think even a newbie will easily get an idea and can cook a decent full fledged Andhra feast called “vindu bhojanam”, following the recipes, images and the menu ideas.
If you are like me, uninspired by cookbooks that devoid of originality and authenticity, often poor victims of meddling editing and mega publishers pressuring tactics, and hungry for a true Indian cookbook, then this book is for you. You may be a novice or an experienced cook, “Cooking at home with Pedatha” with its clutterfree instructions and clean, pleasant images will definitely assist and delight you just like Pedatha in our lives. Check it out!
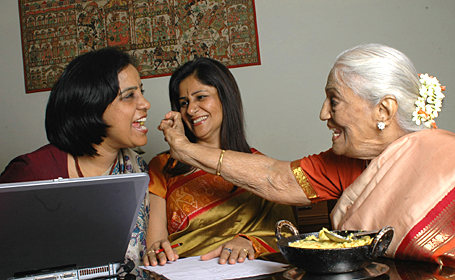
Pratibha Jain and Jigyasa Giri with Pedatha (Sreemati Subhadra Krishna Rau Parigi)

Interview with Jigyasa Giri and Pratibha Jain
Cookbooks are dime a dozen here in USA, but they are rare in India. There is no cottage cookbook industry and publishing a cookbook particularly one that focuses on regional cooking is still a big deal. Most of the times it’s truly a labor of love.
I wanted to know who inspired and what motivated the authors, and how they survived the brutal publishing phase to bring the book into market. Pratibha and Jigyasa responded immediately to my questions and were kind to this newbie. Thanks Pratibha and Jigyasa!
Here is my interview with the authors.
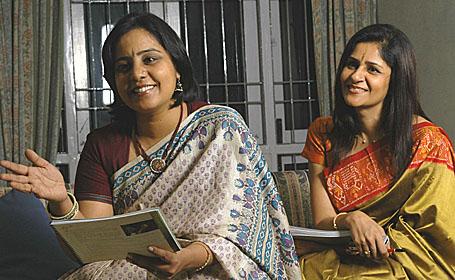
Pratibha and Jigyasa ~ Authors of the Cookbook
You have made an excellent book with uncompromising authentic recipes. What motivated you to write and publish this book? Who is your intended audience?
Thank you for the compliments. Frankly, the main motivating factor was pure love. When you meet Pedatha, you will realize how true this answer is. You know Indira, most of the things we have done in life have always been planned. Strangely, this book was never an agenda. Both of us like interacting with elders very much and we just used to visit Pedatha and chat – invariably about food, for such is her passion for cooking. When that personal collection became a book…. it was destiny’s hand and we just went along with the force of it.
Regarding the audience, we thought it was a niche product. Therefore, the only way to appeal to a wider audience was the idea of a coffee table book. Honestly, we never ever expected to go into second print, and so soon.
Our elders, who are greatly experienced in our cooking styles are exceptional assets for us. “Peddatha” is one such great asset. What did she think about publishing her recipes in the form of a book?
She would be very excited about teaching us whenever we visited her. But later, when the idea of a book emerged (initially from Jigyasa’s husband who said this is not a personal collection, this is a book in the making), she was very apologetic and shy. She kept saying it was home food and that there was nothing to it. In fact, she also once said that she feared people would say that she had misled us ‘little girls’ into thinking that her food was exceptional.
We remember one day when she said the same thing again. And we told her, “Pedatha, does a pearl know its worth? Only a jeweler knows that. So you Pedatha, are our precious pearl and we are your jewelers. Oh how she laughed and said – Now I understand. Ok ok.”
After all the fame and interviews, she is still as simple as always. We can’t stop marveling at that. But she thanks us a hundred times and laughs – “Without walking the ramp, you naughty girls have made me a model”. She calls us – The three Musketeers. She calls our laptop a lapdog because she says it has been so faithful to her. She thinks the recipes are just as she cooks them.
The beauty of the book you made truly portrays the essence of the recipes you put in the book. Cooking is intensively skilled process. Recording and reproducing these processes in the form of a book requires another level of skills too. What was your approach and method to create such wonderful design, photographs and narration? Who was your inspiration?
The first step of inspiration was Pedatha’s photographs – we were
stunned when we saw the results of the camera. I guess from there, we just had to make a book that blended with her pictures.
Regarding the layout and graphics, all credits to our team – Prabodh Jain (every adjective mentioned in the thanks note in the book is just apt – creativity and sustained vision) – he nudged us along every step of the way, challenging us not to compromise; Kavitha Shivan, our young layout designer, is a dream to work with (if u put aside her moods:) and spells of inactivity), guess that’s what creativity is about. In fact, Kavitha played a vital role in food presentation. Srivatsa, our photographer, simple, genuine and hard working – ever willing.
Pratibha’s mom once asked her brother Prabodh what made him so passionate about this project. He said, “Mom! These girls will kill themselves for that right word, the right phrase (he had seen our endless editing and the dozens of times we tried each recipe). How can any of us not respond likewise!” This was a compliment indeed.
I can understand that publishing a book is not as simple a process as preparing a dish. You might have gone through a great deal of work to get the book in to the market. How did you survive through tedious process?
Once the book was ready, quite a few friends and relatives came forward to launch the books. You can see that in the calendar page of our site. Pedatha’s son Mr. A.P.Parigi, an encouraging, positive, friendly person, came forward to launch the book in a big way in Mumbai. That evening was a phenomenal success.
Apart from that, Westland immediately agreed to distribute in India. We are still far behind in distribution though. As single book authors, it is not easy to get a shelf place in stores. However, since we are primarily ambitious as writers, it gives us that space within ourselves not to get obsessed with sales and marketing beyond a point.
What do you think about food blogs and would you like to share anything else with the readers of food blogs?
Food blogs are a reaching-out point for most net savvy cooks. It is almost like a huge wave out there. So easy to find recipes now, just a click away. And in blogs, the responses from other readers to the recipes make it interesting, as well as help decision-making. The best thing is the photographs on food blogs – they are honest, the food looks as it cooks. We wish every food blog would have a grandma’s corner – recipes, health tips, and anecdotes. Grandmas and granddads are such an awesome phenomenon.
What a wonderful thing that blogs are free! Anywhere, anyone who has something to say or share has a forum to do so. Thanks to food bloggers, our kitchens are constant discovery zones now.
Arati ~ Ava Pettina Kura (Raw Banana with a Twang of Mustard)
Recipe from “Cooking at home with Pedatha”
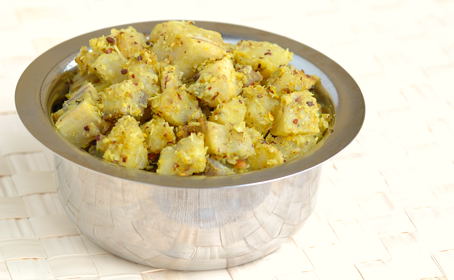
I have been cooking several recipes from the cookbook for the last few days. Traditional recipes that I totally forgot until now. One such recipe is plantain curry with mustard seeds paste. Known as arati ava pettina kura, this special, seasonal dish of Andhra is often prepared for festivals.
I’ve followed Pedatha’s words and instructions mostly, and added salt and chillies to suit my taste. The result was a spectacular, simple dish, which brought me incredible joy. The kind of joy and happiness one would feel when remembering a cherished memory or taste from the past. Thank you Pedatha!
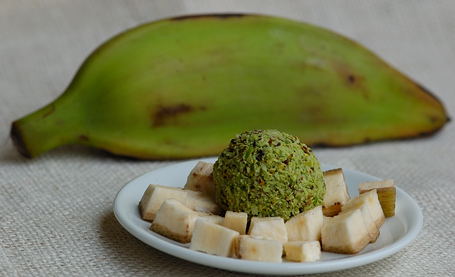
Plantain cubes and Mustard Seed- Coconut Paste
Recipe:
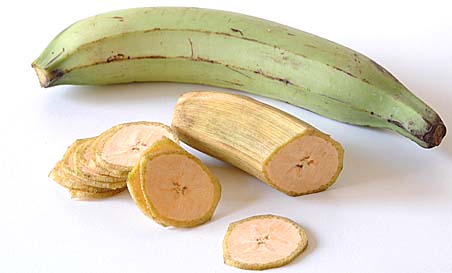
2 plantains
peeled & cut into cubes – boiled in water just until tender & drained.
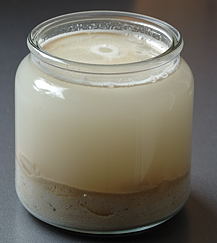
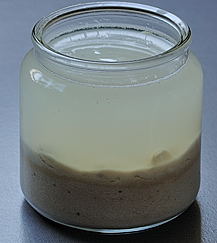
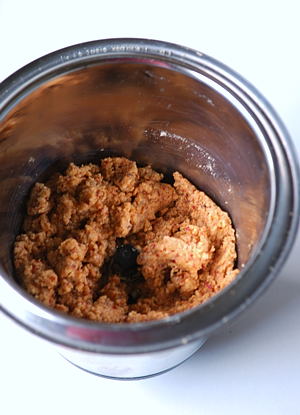
For Mustard Seed ~ Coconut Paste:
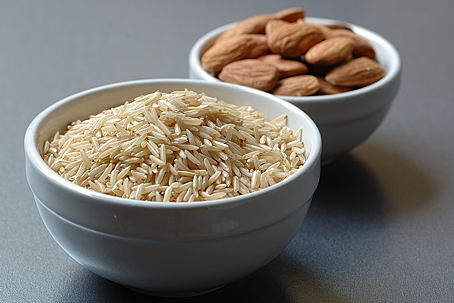
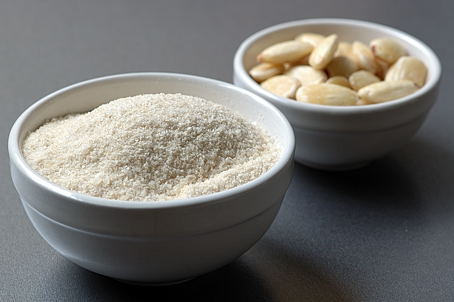
2 teaspoons mustard seeds and 1 tablespoon of raw rice
(soaked in warm water for 10 minutes – to soften, so that they can grind well)
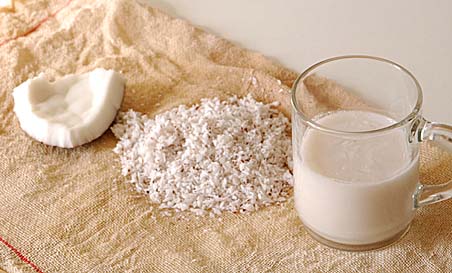
¼ cup of fresh grated coconut
8 green chillies – small, Indian variety
1 inch piece of ginger – peeled and cut to tiny pieces
¼ cup of fresh cilantro leaves and pinch of salt
grind them to smooth paste without adding any water – in a mortar or in a blender
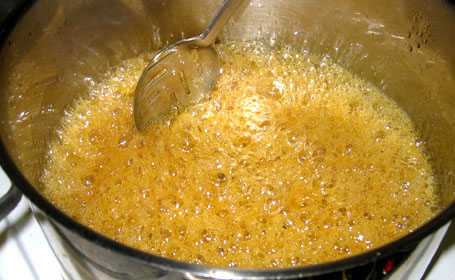
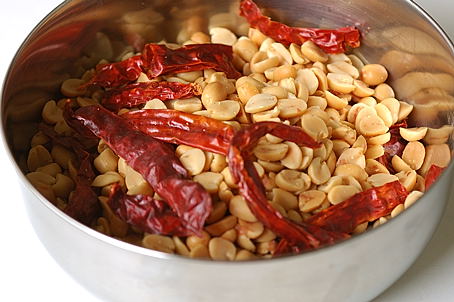
For popu or tadka:
1 tsp each – urad dal, cumin, mustard seeds
6 each- curry leaves and red chilli pieces
A pinch of asafetida powder
Salt and turmeric to taste
In a wide skillet, heat a tablespoon of oil. Add and toast popu or tadka ingredients listed to gold color. Add the grinded paste. Saute until it leaves the raw smell for few minutes on medium heat. Add in boiled plantain cubes, turmeric and salt. Mix thoroughly. Sprinkle two tablespoons of water and cook covered for about 10 minutes stirring in-between.
Serve warm with chapati or rice.
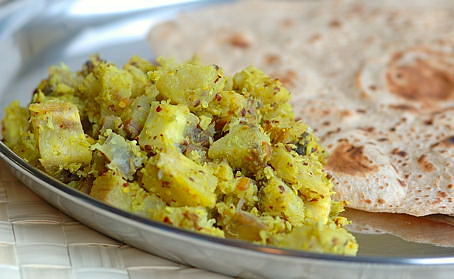
Arati Ava Pettina Kura with Chapati (Plantain – Mustard Curry with Chapatis)
Cooking at home with Pedatha:
Recommend this cookbook to your local libraries
Jigyasa and Pratibha’s Website: www.pritya.com
Cookbook cover and authors photo credit : Jigyasa and Pratibha