Yesterday, on Ugadi, the weather was perfect with temperatures around 70 F. It felt like spring and Andhra weather. To celebrate this perfect day on Ugadi, I prepared chana dal payasam (sanaga pappu payasam) for puja.
Payasam is the most common type of dessert served in homes across south India. Prepared with basic ingredients and following a simple method, Payasam– the liquidy dessert, is a people pleaser. Usually the base is a thickened milk and sugar or jaggery syrup. The solid component varies – protein in the form of chana dal or moong dal are added. Or by adding carbos like rice, vermicelli, sabudana and nuts like almonds; different types of payasams are prepared. Real easy and the outcome is always sweet mouthfuls, it is a favorite among children and adults all alike. Here is the recipe for one of my favorite payasams:
Recipe:
(For two)
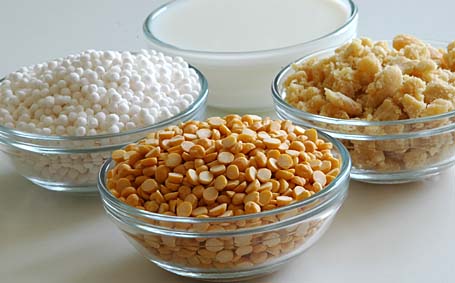
1 cup chana dal
¼ cup sabudana (Sago, Saggu Biyyam)
separately, soak them in water for at least two hours. Presoaking both chana dal and sabudana (sago) reduces the cooking time, considerably.
For sweet syrup
1 cup of powdered jaggery or sugar
3 cups of milk
Flavoring
1 tablespoon of ghee
¼ cup of cashews and golden raisins
4 cardamom pods – seeds finely powdered
1. Take chana dal and one cup each of milk and water in a pressure-cooker. Pressure-cook the dal until one whistle, just to soften the chana dal. Do not disintegrate the dal; take care not to over cook.
2. Meanwhile in a thick bottomed, big vessel, take half cup of water. Add sugar or powdered jaggery. Stir and cook, until the sugar/jaggery melts. When the syrup starts to thicken, add the soaked sabudana, and 2 cups of milk. Cook them on medium heat for at least 15 minutes, stirring in between. To this milk-sugar-sabudana syrup, add the contents of the pressure cooker – chana dal and the milky liquid it is cooked. Stir and check the sweetness level, add sugar if needed. Simmer on medium heat, Uncovered, stirring occasionally for another 15 minutes or until it reaches consistency/thickness, you desire. Keep in mind payasam further thickens on cooling.
3. When all this is happening, heat a spoonful of ghee in a small pan. Add and toast – first cashews, then golden raisins until light brown. Add these toasted things along with ghee, to the simmering payasam.
4. Finally stir in powdered cardamom, simmer another 5 minutes. Switch off the heat, cover the pot with a lid and let it sit for at least half an hour. Serve warm or cold.
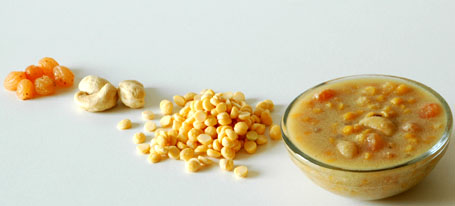
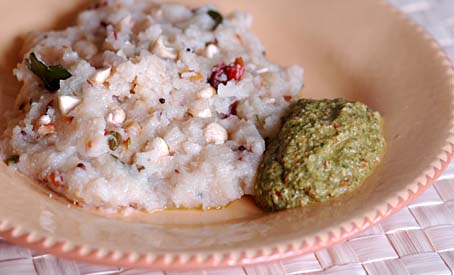
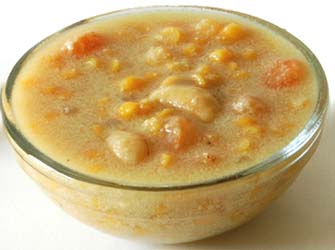
Chana dal payasam (Sanaga Pappu Payasam) ~ For this week’s Indian sweets 101
Variations:
I also prepare the same payasam with chana dal(bengal gram) without adding the sabudana(sago).
Sometimes, I also add fine semolina instead of sabudana to chana dal payasam.
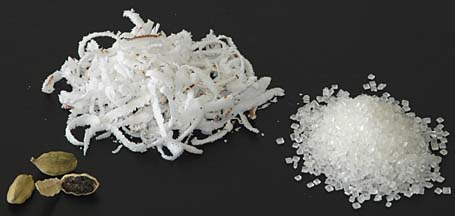
Toasted fresh coconut gratings are also added along with cashews and golden raisins for that rich nutty sweetness.