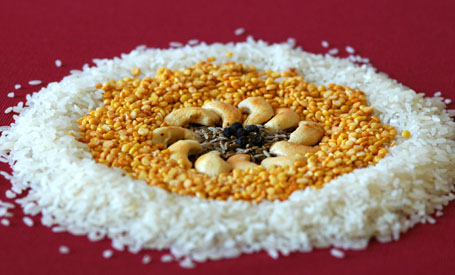
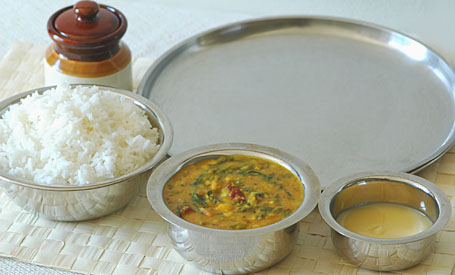
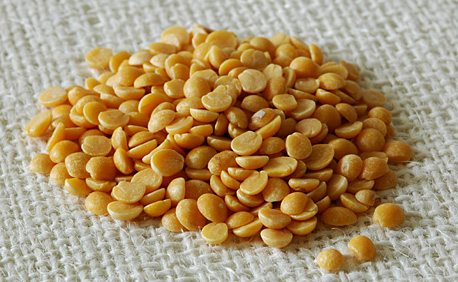
Sona Masuri Rice, Roasted Yellow Moong Dal, Roasted Cashews, Cumin and Peppercorn
Some foods are simply divine, pongal belongs to that category. There isn’t anything quite like pongal! Creamy and luxurious rice dish that you get by cooking rice with toasted moong dal in little bit of ghee. Lots of water, sometimes milk is added and seasoned with cumin, black peppercorn and salt. The whole mix is cooked in a big pot until the rice and dal are soft. Roasted cashews are sprinkled at the end. This simple dish is so fragrant, the whole house will be filled with wonderful aroma. And the taste, I won’t gush but I will say this; it’s often prepared and offered to Gods in temples. Can we, mere mortals resist the pongal temptation? I don’t think so!
Pittsburgh’s Sri Venkateswara Temple serves the best pongal I have ever tasted out side India. At the temple’s kitchen, the chef prepares pongal in a big caldron following the traditional method. The secret is not only quality ingredients but also the method of cooking, no pressure-cookers there. I think that’s why temple pongal tastes so good. Since last year I have been preparing pongal in a big pot and stopped cooking it in pressure cooker. The difference in taste is tremendous and surprisingly the preparation is also easy.
Here is my recipe:
(for two)
1½ cup rice (preferably Sona Masuri)
1 cup yellow moong dal
2 tablespoon of ghee
1 tsp of cumin
½ tsp of black peppercorn
1 tsp of salt
½ cup of cashews
7 cups of water and
I also add 2 cups of milk (my preference and optional)
A big sturdy pot (Big sauce pan)
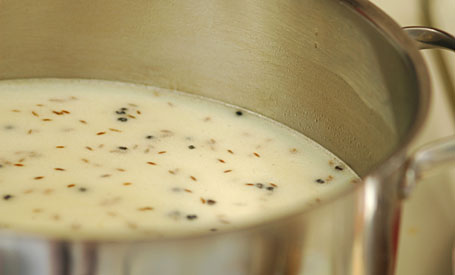
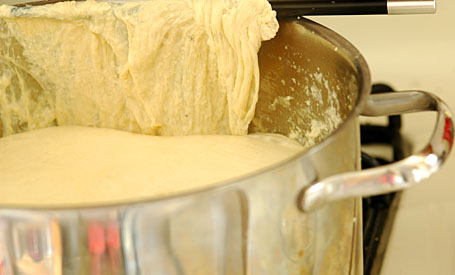
Pongal – Starting Point
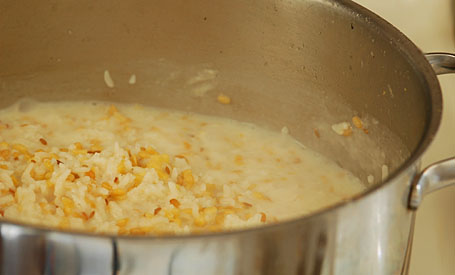
Pongal – After 15 minutes of cooking
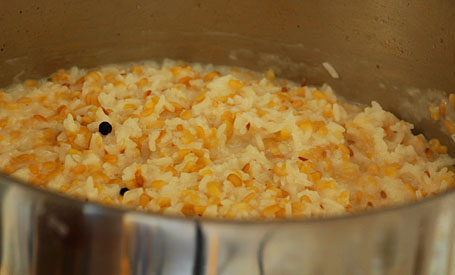
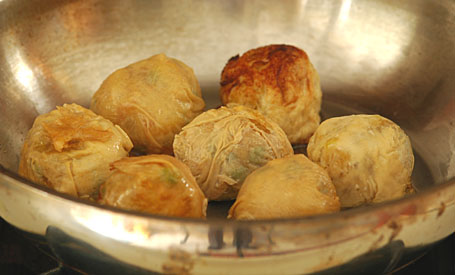
Pongal – at 20 minutes of cooking
1. Heat a teaspoon of ghee in an iron skillet on medium heat. Add and roast moong dal to golden color, constantly mixing. Take care not to black. Remove them to a plate. In the same skillet heat another teaspoon of ghee. Add and roast cashews to golden.
2. In a big sturdy pot, heat a tablespoon of ghee. Add and toast cumin and black peppercorn for few minutes. Stir in the toasted moong dal and rice. Mix them with ghee for few minutes. Pour water and milk and stir in salt. Cover the pot with lid and cook on high heat. Within 10 to 15 minutes, you will see the water gurgling and trying to lift the pot lid. At this stage, remove the lid. Mix the cooking mixture once and partially cover the pot with lid, leaving little bit of gap for water vapor to escape.
3. Within 5 minutes, you will see whole thing coming together. Rice-dal mixture will be doubled in volume. Each grain will be plumped but not broken open. Turn off the heat, and stir in roasted cashews. Close the lid fully and let the rice sit for about 10 minutes. At this stage, you can stir in more ghee if you want to and also add salt to suit your taste.
Rice-dal mixture absorbs the remaining water-milk liquid and becomes little bit tight. Pongal’s consistency can vary from something resembling a thick soup to a creamy porridge, but never like a tight hard ball. Resist the temptation to overcook and turn off heat early.
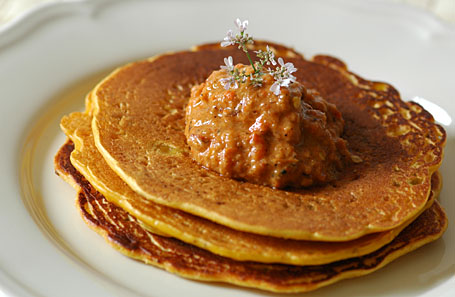
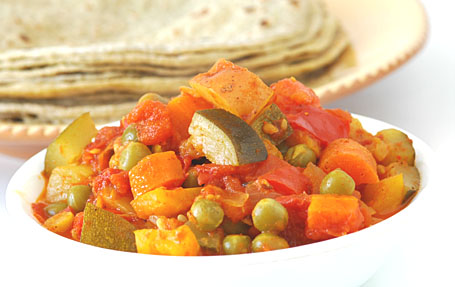
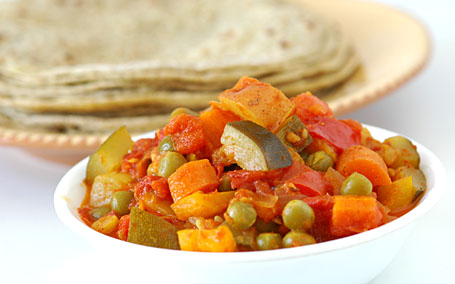
Usually we will have this pongal with chutney, potato kurma or with a cup of yogurt depending on the time of the day.
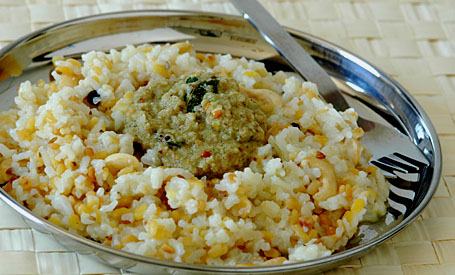
Pongal with Coconut Chutney ~ Traditional Indian breakfast
My first entry to JFI – Dal hosted by Sailu of Sailu’s Food and also to Paz’s For the Love of Rice
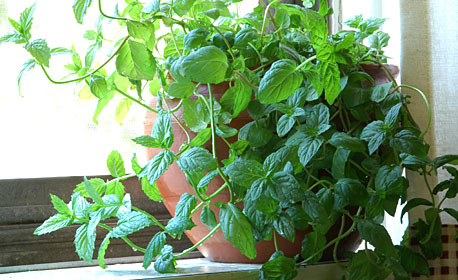
Along with cumin and black peppercorn, curry leaves are also added to the ghee. I didn’t have any curry leaves when I prepared this recipe so the omission.


