Our love for idlis, the soft, fluffy white, round discs made of rice and lentil batter, began when we were children. Two, three year old babies with tiny idlis in their hand, playing around mom, is a common scene you see in many Indian households. As we grow up, the role of idlis also changes – first as toddlers’ teething food, to childhoods play, fun kind of food. Then in teenage years, the kind of breakfast we really enjoy eating without complaining much. Later In twenties and thirties – we try, struggle and wonder how folks back home make those fluffy cloud like visions of idlis so effortlessly. Try as we may, we can’t recreate those beauties here, because the weather, the grain and even the water is different here.
Method of making idlis is very simple yet little bit time consuming, only in the sense that you have to plan ahead. Whether idlies turn out like cotton soft or solid, white round bricks – it all depends on fermentation (that means where you live and how you grind the batter etc.,). Most of the times, the recipe I follow gives good, decent idlis, considering I live in a very cold climate area. See, if my recipe works for you.
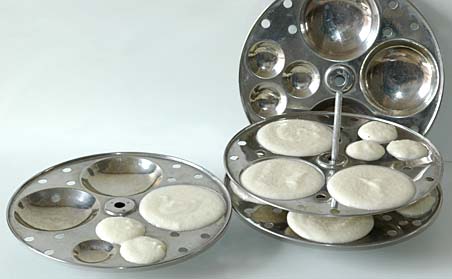
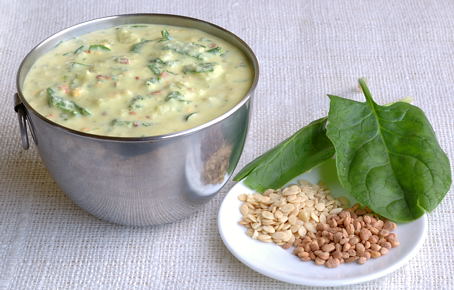
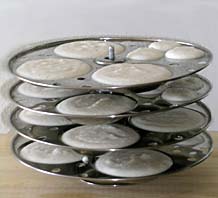
Idly stand and idly plates, some filled with urad dal– rice ravva batter
Recipe:
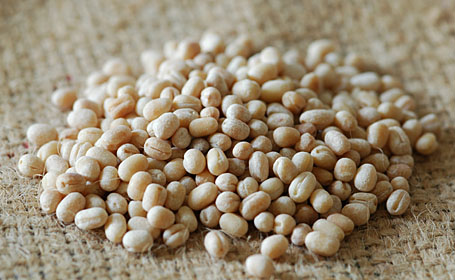
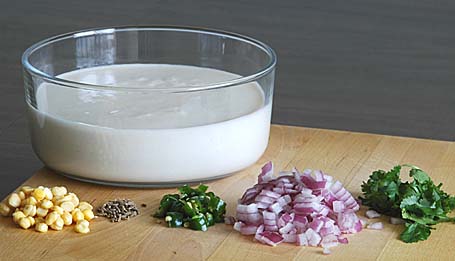
Urad dal and rice ravva (cream of rice, rice suji) in a ratio of 1:2
1 tsp of fenugreek seeds
Pinch of baking powder
Utensils
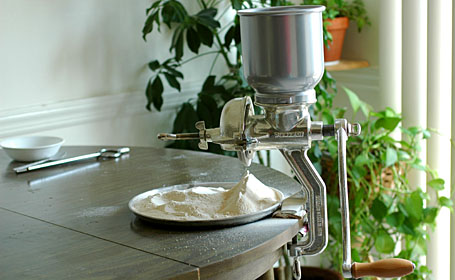
Blender/wet grinder
Idly stand with idly plates (see the photo above)
And a vessel with tight lid (suitable to fit idly stand)
Soak urad dal in just enough water overnight or for at least 4 to 6 hours.
Drain the water and keep the drained water aside.
Grind the dal into silky smooth batter. To get the medium tight consistency, add the drained water kept aside, as needed to the batter,while grinding. Remove the batter in a vessel.
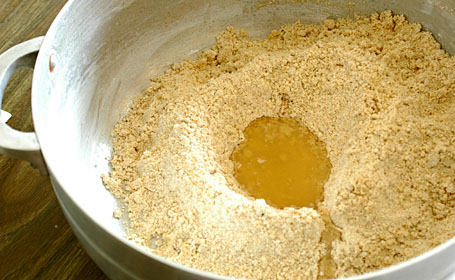
Add rice ravva and mix thoroughly without any lumps.
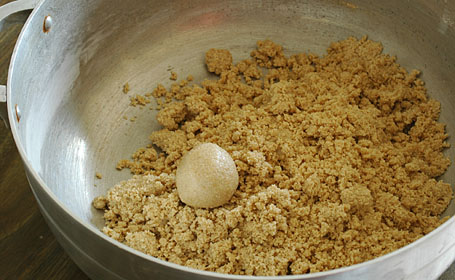
Keep it covered, for overnight fermentation (at least 6hours) in a warm place. By morning, the batter will be doubled in volume. Stir in salt and baking powder. Consistency of batter must be medium (like condensed milk), not too tight or too watery. Add water if necessary.
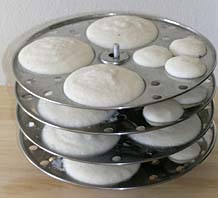
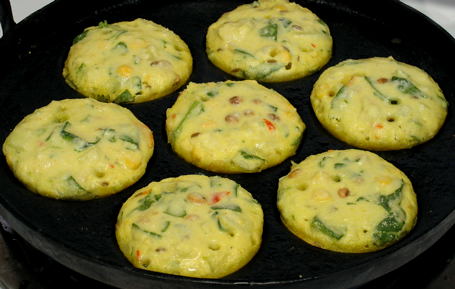
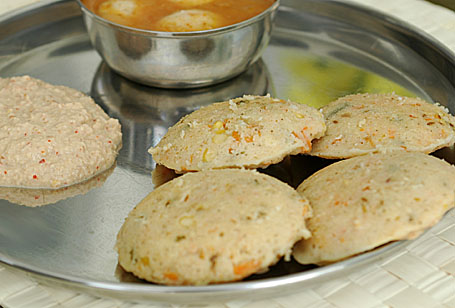
Idly plates filled with rice ravva-urad dal batter all ready for steam cooking***Idlies after steam cooking
In a big vessel (fit to idly stand) with tight lid, add about half to one glass of water and bring to a boil.
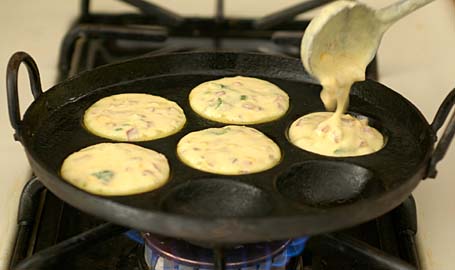
Separate the plates in idly stand; pour spoonfuls of batter in round impressions (see the photo above). Fill all the plates with idly batter and place these filled idly plates, back on the stand. Place this idly stand with filled plates in the vessel with boiling water. Cover it tightly and cook them on steam. The plates are perforated and allow the idlis to be steam-cooked evenly.
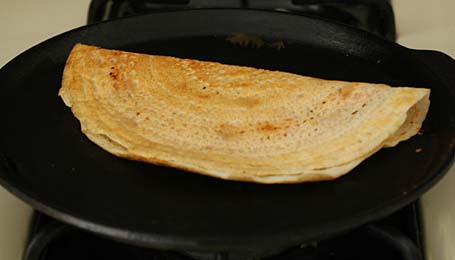
After about 15 to 20 minutes, the batter will be hardened and when touched, won’t stick to your fingers like a wet batter does. Turn off the heat and remove the idly stand from the vessel. Run a spoon under each impression to separate steamed idlies from the plate. Remove them all like this and get ready to steam the next batch of idlis.
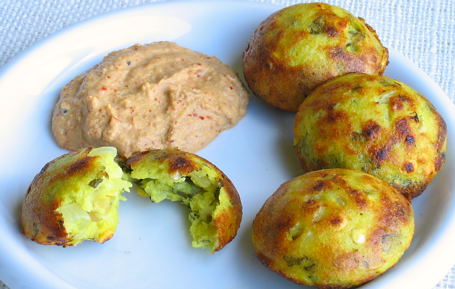
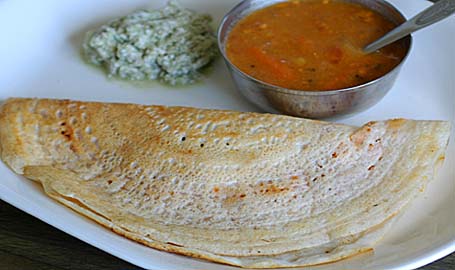
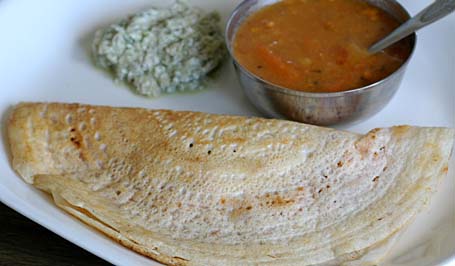
Serve idlis piping hot with sambhar, coconut chutney and idly karam podi ~ for a traditional, proper south Indian breakfast.
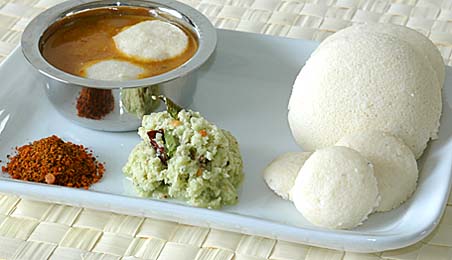
Idlis with coconut chutney, idli karam podi and shallot sambhar ~ Our weekend brunch
 Answering questions about my Idly routine:
I usually prepare idlis for our weekend brunch. My prep work for Saturday’s brunch of idli starts like this. I soak the urad dal on Friday morning, around 7-9 AM. It takes at least 4 to 6 hours for them to soften. Around 6-8 PM evening, I grind them into smooth, silky smooth batter. I remove the batter into a big vessel and mix up with store bought idli rava. Then I keep it covered overnight for fermentation. By morning, the batter will be fermented and changed in looks and consistency. After stirring in salt and little bit of baking powder, I pour ladleful of batter into the impressions on idly plates and steam cook them.
The tips I follow:
1. I use round urad dal(whole and white). Somehow they are better than the broken ones for idlis.
2. I soak the urad dal in just enough water and while grinding I add this drained water. This tip works only in cold climate to aid the fermentation.
3. While grinding I also add one or two teaspoons of soaked fenugreek seeds. This is an old tip, to improve the taste and fermentation.
4. Urad dal batter- the smooth the batter, the fluffy and silky, the idlis will be. Grind, grind and grind, run that blender motor until it gets hot.:)
4. Rice ravva- I use store bought kind.
5. Fermentation- I set the oven on to minimum (lowest setting/warm) for about 5 minutes, then I’ll turn it off. By the time I’m ready with batter, the oven will be warm. During bitter cold wintertime, keeping the batter in this cozy, warm oven aids fermentation process.
6. In the morning, I usually add a pinch of baking powder to the batter (old time tip).
For more tips, check out this wiki article on Idlis.
Recipe source: Amma